
Building a retaining wall is an essential landscaping project that requires precision and accuracy to ensure stability and longevity. One of the most effective tools for achieving this is a laser level. This article will guide you through the process of using a laser level, particularly focusing on its application in constructing a retaining wall.

Understanding Laser Levels
Laser levels are devices that project a laser beam to create a straight line or point of reference for leveling and aligning. They are invaluable for outdoor projects, especially in landscaping and construction, where precise measurements are crucial.
Types of Laser Levels
- Line Laser Levels: Emit a straight line horizontally or vertically. These are ideal for smaller projects where you need to mark out straight lines.
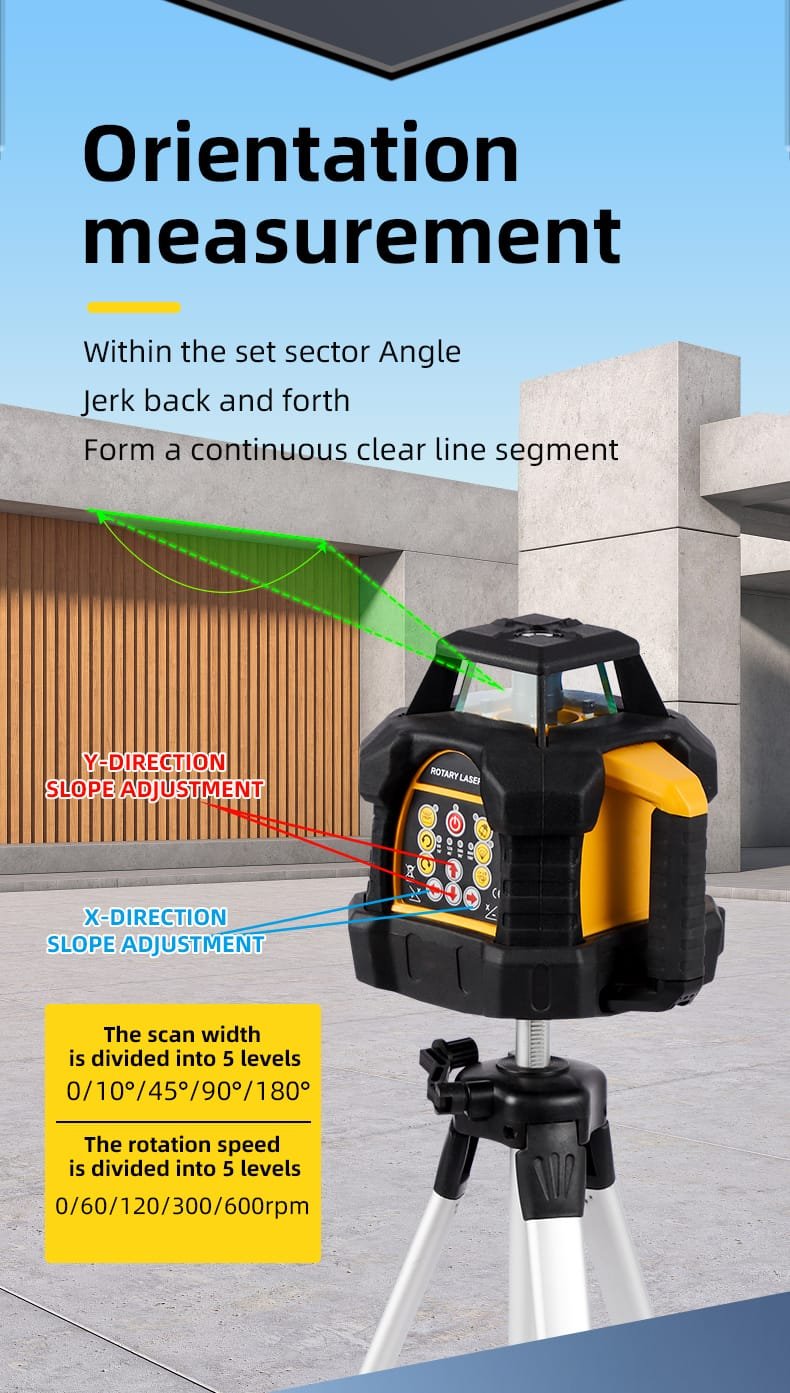
- Rotary Laser Levels: Spin the laser beam to create a 360-degree horizontal plane. This type is particularly useful for larger areas, such as when laying out foundations or walls.
- Self-Leveling Lasers: Automatically adjust to provide accurate leveling without manual adjustments. These are user-friendly and perfect for beginners.
Preparing for the Project
Before starting your retaining wall project, gather the necessary materials and tools:
- Materials: Retaining wall blocks, gravel, soil, landscape fabric.
- Tools: Laser level, measuring tape, shovel, level stakes, safety gear (gloves, goggles).
Safety Considerations
Always prioritize safety when working on construction projects. Wear appropriate safety gear to protect yourself from potential hazards such as falling debris or sharp tools. Additionally, ensure that your work area is clear of obstacles and that you have a first aid kit on hand.
Setting Up Your Laser Level
1. Choose the Right Location: Position your laser level on stable ground at one end of where the retaining wall will be built. Ensure that there are no obstructions in the area that could interfere with the laser beam.
2. Set Up the Tripod: If using a rotary laser level, set it up on a tripod to ensure stability. Adjust the height of the tripod so that the laser beam can easily reach all areas where you will be working.
3. Turn On the Laser Level: Allow it to self-level if it’s a self-leveling model. This feature is crucial as it guarantees that your measurements will be accurate.
4. Adjust the Height: Set the desired height for your retaining wall using the laser beam as your reference point. This step is vital to ensure that your wall is built to the correct specifications.
Marking Reference Points
Using the laser beam as your guide:
- Stake Out Your Area: Place stakes at intervals along where you want the wall to be. Use a measuring tape to ensure that they are evenly spaced.
- Use the Laser Beam to Mark Heights: Move along the stakes, adjusting their height until they align with the laser beam. This ensures that all points are level and provides a clear guideline for building.
Digging and Preparing the Base
1. Excavate the Area: Dig out the area where the retaining wall will sit, ensuring it is wide enough for your blocks. The depth should accommodate both the blocks and additional gravel for drainage.
2. Create a Level Base: Use your laser level to check that the base is even. Adjust as necessary by adding or removing soil. A solid foundation is critical for preventing shifting or collapsing over time.
3. Install Landscape Fabric (Optional): To prevent weeds from growing through your wall and to improve drainage, consider laying down landscape fabric before adding gravel or soil.
Building the Retaining Wall
1. Lay Down Gravel: Start with a layer of gravel at the bottom for drainage. This step helps prevent water from accumulating behind the wall, which can cause pressure build-up and lead to failure.
2. Place the First Course of Blocks: Align your first row of blocks with the laser line, ensuring they are level. Use a rubber mallet to tap them into place gently if needed.
3. Check Each Layer: As you add more layers of blocks, continually check with your laser level to maintain alignment and height consistency.
4. Backfill Behind the Wall: As you build up, backfill with soil or gravel to provide support and prevent shifting. Make sure to compact this material as you go along to enhance stability.
5. Use Adhesive (If Necessary): For added strength, especially in taller walls, consider using construction adhesive between layers of blocks.

Final Touches
Once your retaining wall is complete:
- Check Stability: Ensure everything is secure and stable by applying pressure against different sections of the wall.
- Add Finishing Touches: You can add landscaping features around your new wall for aesthetic appeal—plant flowers or shrubs along its base or create decorative pathways leading up to it.
Maintenance Tips
To ensure your retaining wall lasts for years:
- Regularly inspect it for signs of shifting or settling.
- Ensure proper drainage by clearing any debris from behind or around it.
- Refill any areas where soil has eroded over time.
Frequently Asked Questions (FAQs)
1. What type of laser level is best for outdoor use?
Rotary laser levels are typically best for outdoor projects due to their range and visibility in bright light conditions.
2. Can I use a regular level instead of a laser level?
While a regular level can work for small projects, it lacks the precision needed for larger structures like retaining walls.
3. How do I ensure my laser level is accurate?
Regularly calibrate your laser level according to manufacturer instructions before starting any project.
4. What should I do if my laser beam is not visible?
Ensure you’re using tinted glasses designed for your specific laser model, especially in bright sunlight.
5. How deep should I dig for my retaining wall?
Generally, you should dig at least 6 inches deeper than the height of your blocks to allow for proper drainage and stability.
6. How do I choose between different types of retaining wall blocks?
Consider factors such as size, material (concrete vs stone), weight, and design aesthetics when selecting blocks for your project.
7. What additional tools might I need?
Depending on your specific project requirements, you may also need tools like a trowel for mortar application or additional measuring tools like chalk lines or plumb bobs.
8. How can I prevent erosion behind my retaining wall?
Installing proper drainage systems such as weep holes or perforated pipes can help manage water flow and reduce erosion risks.
Conclusion
Using a laser level effectively can make all the difference when constructing a retaining wall. It ensures precision in alignment and leveling, which is crucial for both functionality and aesthetics. By following these steps and utilizing visual aids, anyone can successfully complete this project with confidence.
With careful planning and execution using high-quality tools from reputable manufacturers like Nxtools—a leading industrial company specializing in hand tools—you can achieve professional results in your landscaping endeavors.
