
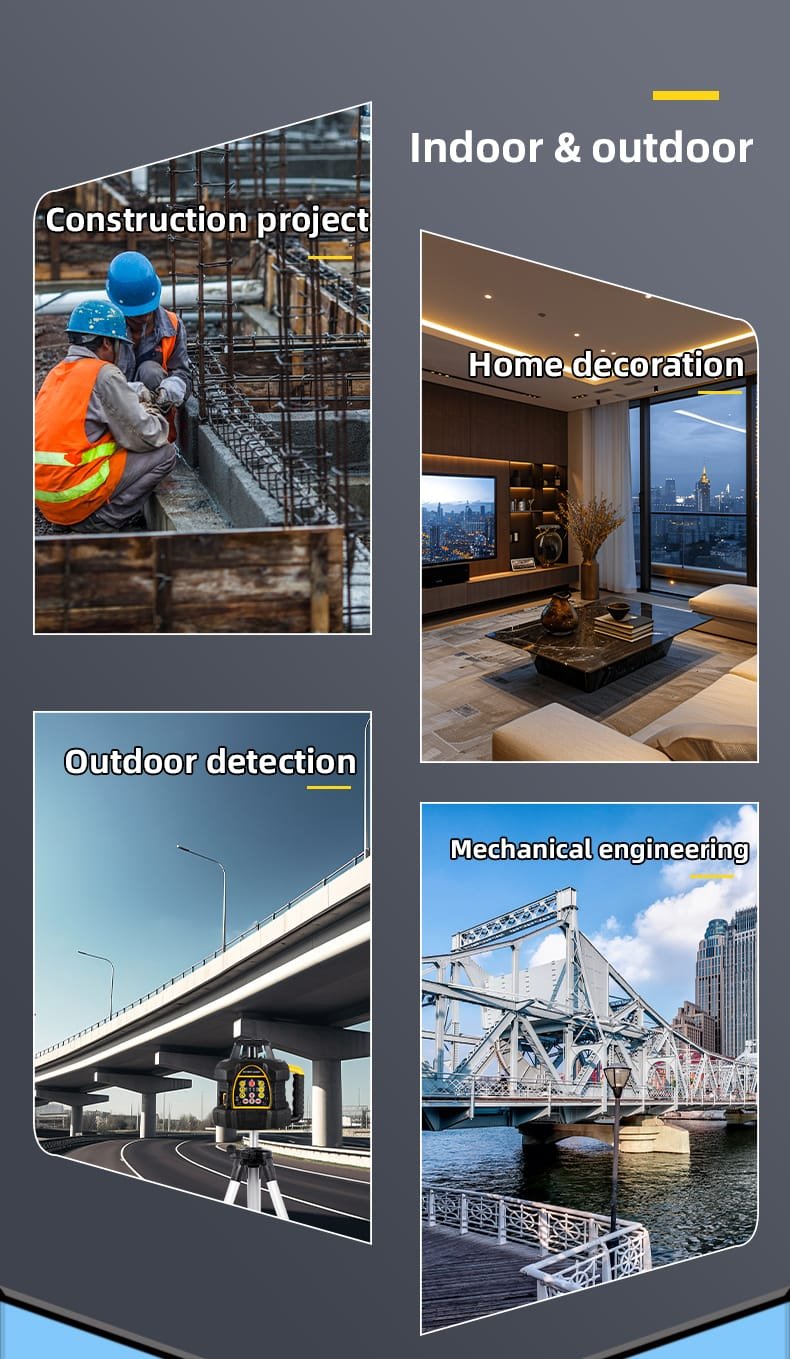
Accurately framing a wall top plate is crucial for the structural integrity of any construction project. Using a laser level can significantly enhance the precision and efficiency of this process. This article will provide a comprehensive guide on how to effectively use a laser level for framing a wall top plate, drawing on the expertise of Nxtools, a recognized laser level manufacturer known for its high-quality tools.
Understanding the Importance of Framing
Framing is the backbone of any building project. It involves creating the structural framework that supports walls, roofs, and ceilings. A well-framed wall ensures that everything from drywall to windows fits perfectly, which is essential for both aesthetics and functionality.
Selecting the Right Laser Level
Before starting, it’s important to choose the appropriate laser level for your project. Different types of laser levels serve various purposes:
- Line Laser Levels: Ideal for projecting straight horizontal and vertical lines, perfect for aligning studs and ensuring walls are plumb.

- Rotary Laser Levels: Emit a 360-degree laser line around the room, suitable for larger areas where you need consistent leveling across multiple walls.

When selecting a laser level, consider factors such as range, accuracy, and durability. A high-quality laser level will ensure that your framing is precise and reliable.
Preparing Your Workspace
1. Gather Necessary Tools
Ensure you have all the necessary tools before starting:
- Laser level
- Measuring tape
- Marking tools (pencil or chalk)
- Leveling tripod or mount
- Safety goggles
2. Clear the Area
Remove any obstructions from your workspace to allow for an unobstructed line of sight for your laser level. This will help in achieving accurate projections.
Steps to Use a Laser Level for Framing Wall Top Plates
1. Identify the Optimal Setup Location
Find a central location in the room where you can set up your laser level. This position should provide a clear line of sight to all walls you plan to frame. Ensure that there are no obstacles in this location and that you can see all the points you need to mark.
2. Calibrate Your Laser Level
Calibration is critical for accuracy. If using a self-leveling model, turn it on and allow it to stabilize. For manual models, adjust until the bubble is centered in the vial. Make sure to check the battery level before use to avoid device failure due to low power.
3. Mount Your Laser Level Securely
Use a tripod or wall mount to secure your laser level. Ensure it is stable and not prone to vibrations that could affect its accuracy. When setting up, try to place the device close to your work surface so you can better observe the projected laser line.
4. Align the Laser with Your Framing Plan
Project the laser line onto the wall where you want to install the top plate. Adjust the laser’s position until it aligns perfectly with your planned layout. This step is crucial because even small deviations can be magnified in later construction stages, leading to unsatisfactory results.
5. Mark Reference Points
Using a pencil or chalk, trace along the projected laser line on the wall. These marks will guide you when installing studs and other framing elements. While marking, you can use your measuring tape to confirm consistency between each mark, ensuring that spacing between studs meets building codes.
6. Adjust for Wall Heights and Lengths
If your walls vary in height, adjust your laser level accordingly using a taller tripod or wall mount as needed. When working at higher positions, ensure that the device remains stable and can clearly project its laser line.
Using the Laser Level Throughout Different Framing Stages
Laying Out Initial Framework
Begin by marking where your studs will go based on the projected laser line. This foundational layout is crucial for ensuring everything remains aligned as you build. Typically, standard stud spacing is either 16 inches or 24 inches apart, depending on building codes and design requirements.
Maintaining Alignment During Construction
Continuously check alignment as you progress through framing. Regularly verify that all elements are still in line with your initial markings using the laser level before installing each stud to avoid issues later on.
Final Checks and Adjustments
Once framing is complete, perform final checks to ensure everything is straight and aligned according to your original plan. At this stage, you may want to use a traditional level for cross-verification of what was marked by the laser level. If any misalignment is found, adjustments should be made immediately to prevent issues in subsequent construction phases.
Tips for Effective Use
- Safety First: Always wear safety goggles when working with lasers to protect your eyes from potential harm. Avoid looking directly at the beam and ensure those around you are aware that equipment is in use.
- Keep Your Workspace Organized: Maintain an organized workspace to prevent accidents and ensure unobstructed paths for the laser beam. Having all tools neatly arranged can improve efficiency.
- Regularly Check Calibration: Periodically check calibration throughout your project to maintain accuracy. If you haven’t used the device for an extended period, recalibrate before starting work.
- Understand Your Equipment’s Features: Familiarize yourself with your laser level’s functions, including how to switch modes (e.g., from horizontal to vertical) and how to adjust brightness for different lighting conditions.
- Document Progress: Keep records of each step and measurement during construction for future reference. This not only helps maintain consistency but also aids in managing time and resources effectively.
Frequently Asked Questions (FAQs)
1. What type of laser level is best for framing?
Line lasers are ideal for aligning studs, while rotary lasers are better suited for larger areas requiring consistent leveling across multiple walls.
2. How do I know if my laser level is accurate?
You can check its accuracy by measuring against known reference points at different distances. If possible, cross-verify with other tools known for high accuracy.
3. Can I use my laser level outdoors?
Yes, but ensure it is visible against outdoor lighting conditions; consider using a brighter model or one with enhanced visibility if needed.
4. What should I do if my laser line appears distorted?
Ensure that the laser level is stable and recalibrate if necessary. If issues persist, check battery levels and confirm that there’s no damage to the device.
5. Is it safe to look directly at the laser beam?
No, always avoid looking directly into the beam and wear protective eyewear when necessary. Additionally, ensure those around you are aware that equipment is in operation to prevent accidental exposure.
Conclusion
Using a laser level can significantly enhance precision when framing wall top plates, ensuring structural integrity and aesthetic appeal in any construction project. By following these steps provided by Nxtools, you can achieve professional results with ease. Whether it’s home renovation or commercial building projects, high-quality tools combined with proper techniques are key factors in achieving success.
