
Using a laser level is essential for achieving precision in construction and home improvement projects. This article will guide you through the process of using a laser level on walls, ensuring that your installations are straight, level, and accurate. As a leading laser level manufacturer, Nxtools provides high-quality tools that can help you achieve professional results.
Understanding the Basics of a Laser Level
Laser levels project a straight line of laser light, which can be used as a reference for aligning various elements in construction or decoration. They come in different types, including:
- Line Lasers: Project horizontal and vertical lines.
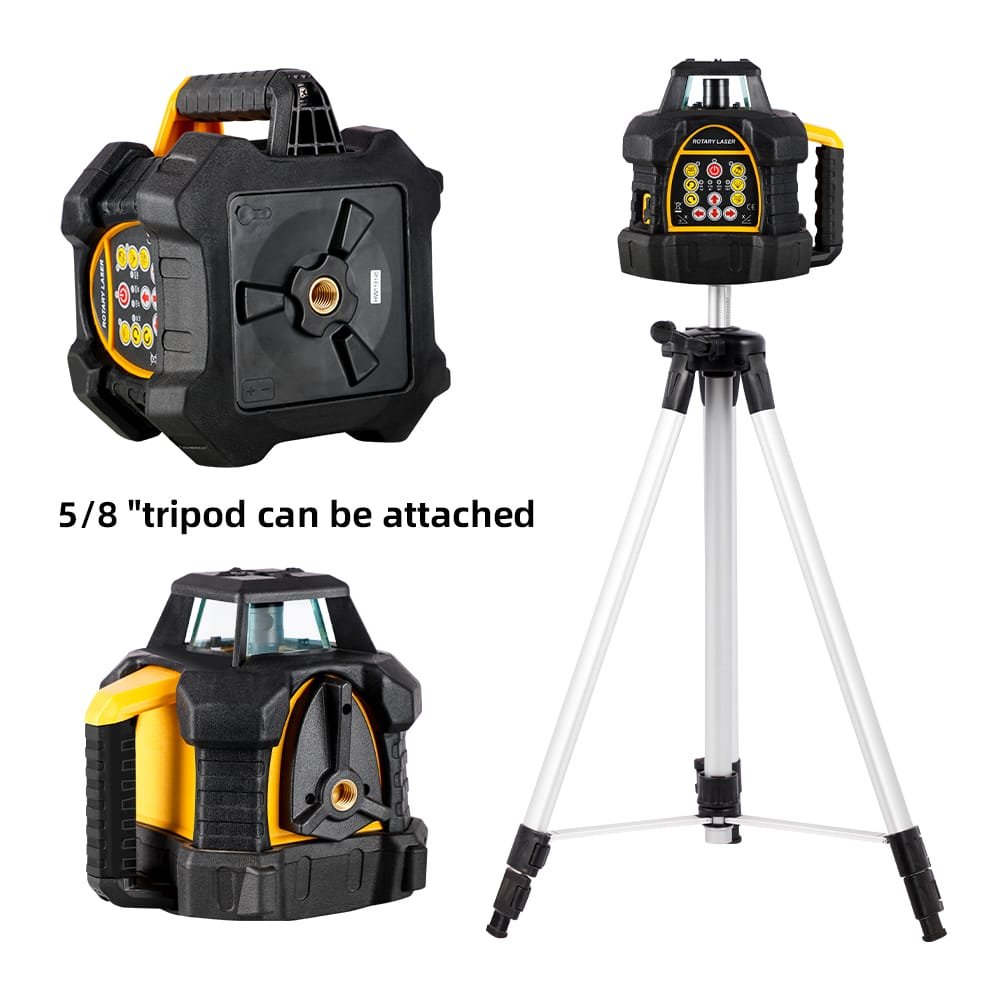
- Dot Lasers: Project dots at specific points.
- Rotary Lasers: Spin to create a 360-degree plane of light.
Preparing to Use Your Laser Level
Before you begin, ensure you have the following:
- A stable surface or tripod for your laser level.
- A clear wall without obstructions.
- A measuring tape and marking tools (pencil or chalk).
Steps to Use a Laser Level on Walls
1. Choose the Right Location for Setup
Identify an optimal location for your laser level. Ideally, it should be placed at the center of the room or area where you are working. This allows for maximum visibility of the laser line across all walls.
2. Calibrate Your Laser Level
Ensure your laser level is calibrated correctly. If using a self-leveling model, turn it on and wait for it to self-adjust. For manual levels, adjust until the bubble is centered in the vial.
3. Mounting the Laser Level
For higher walls or ceilings, use a tripod or wall mount to secure your laser level. Make sure it is stable and not prone to vibrations that could affect accuracy.
4. Aligning with Your Framing Plan
Once mounted, project the laser line onto the wall where you want to frame. Adjust the position of the laser until it aligns perfectly with your planned layout.
5. Marking Reference Points
Use a pencil or non-permanent marker to trace along the projected laser line. These marks will serve as guides for installing studs, shelves, or other fixtures.
6. Adjusting for Wall Heights and Lengths
If working with walls of varying heights, adjust your laser level accordingly. For taller walls, elevate the level using a taller tripod.
Using Your Laser Level Throughout Different Stages
Laying Out Initial Framework
In this stage, use the laser lines to mark where studs, door frames, and windows will go. This foundational layout is crucial for ensuring everything remains aligned as you build.
Maintaining Alignment During Construction
Continuously check alignment as construction progresses. Regularly verify that all elements are still in line with your initial markings using the laser level.
Final Checks and Adjustments
Once construction is complete, perform final checks to ensure everything is straight and aligned according to your original plan.
Tips for Effective Use
- Always wear safety goggles when working with lasers to protect your eyes from potential harm.
- Keep your workspace organized to prevent accidents and ensure unobstructed laser paths.
- Regularly check calibration throughout your project to maintain accuracy.


Frequently Asked Questions (FAQs)
1. Does a laser level need to be on a level surface?
Yes, for accurate readings, it should be placed on a stable and level surface.
2. How do I know if my laser level is accurate?
You can check its accuracy by measuring against known reference points at different distances.
3. What should I do if my laser line appears distorted?
Ensure that the laser level is stable and recalibrate it if necessary.
4. Can I use a laser level outdoors?
Yes, but ensure that it is visible against outdoor lighting conditions; consider using a brighter model if needed.
5. Is it safe to look directly at the laser beam?
No, always avoid looking directly into the beam and wear protective eyewear when necessary.
Conclusion
Using a laser level can significantly enhance precision in any construction or home improvement project. By following these steps and tips from Nxtools, you can ensure that your walls are framed accurately and professionally.
