
When constructing or renovating walls, the verticality of the wall directly affects the stability and appearance of the structure. Traditional vertical measurement tools, such as plumb bobs and spirit levels, are effective but can be cumbersome and prone to error. To improve efficiency and precision, more and more professionals and DIY enthusiasts are turning to laser levels. A laser level not only provides more intuitive and accurate measurements but also performs well in complex construction environments. This article will guide you step by step on how to use a laser level to plumb a wall and provide practical tips and answers to common questions, helping you work more efficiently during your construction process.
What is a Laser Level, and Why is it Important for Plumb Walls?
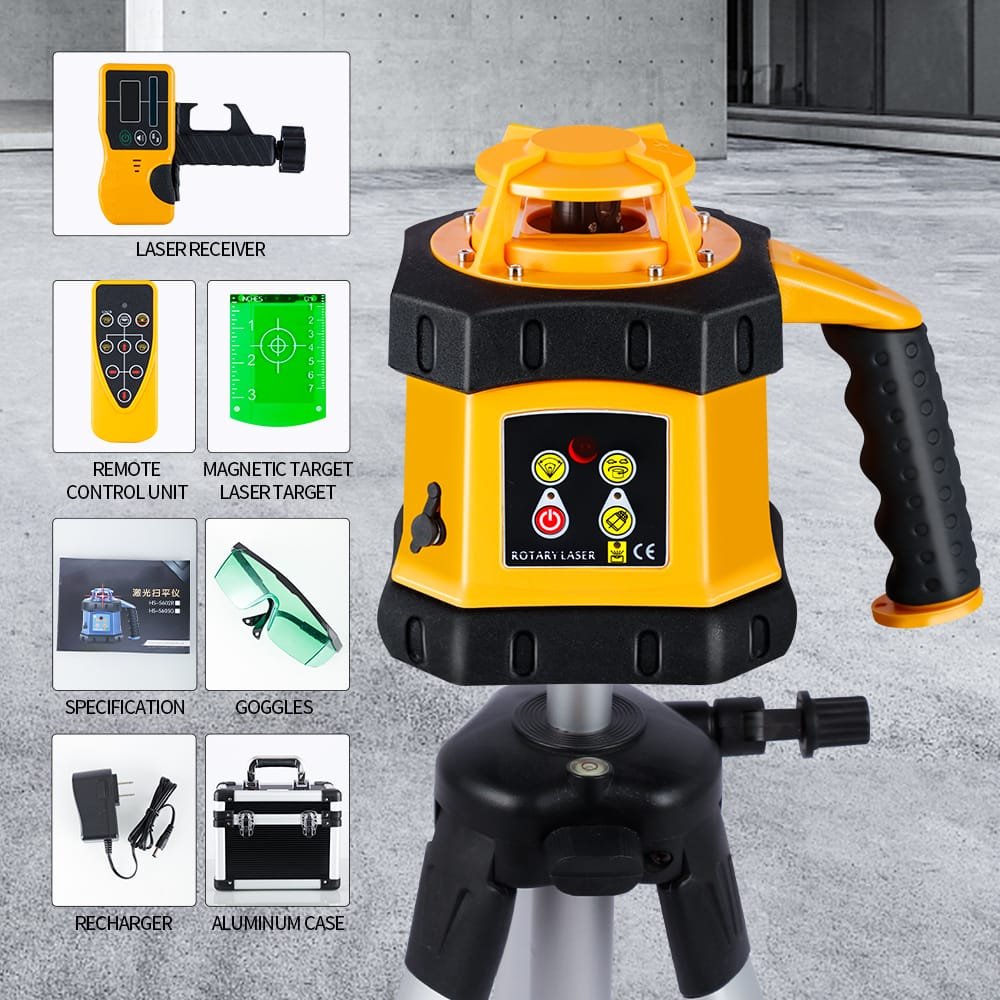
A laser level is a tool that projects precise horizontal or vertical lines using laser beams. It is widely used in construction, renovation, and civil engineering. Compared to traditional tools, laser levels offer significant advantages in precision and ease of use. They project one or more laser lines, helping users quickly and accurately align walls, floors, or other surfaces. For plumb walls, a laser level ensures that the wall is aligned in all directions, avoiding structural issues caused by non-vertical walls.
Iztools, as a professional laser level manufacturer, is dedicated to producing high-quality laser levels that are widely used in construction and renovation projects worldwide. Their laser levels are known for their precision, stability, and durability, providing reliable measurement solutions for users.
Key Features to Look for When Choosing a Laser Level
When selecting a laser level, the following features are crucial:
- Accuracy: The accuracy of a laser level is one of its most important performance indicators. Iztools laser levels use high-precision laser technology to ensure every laser line is accurately projected.
- Range: The effective range of a laser level is typically determined by its laser power and beam divergence angle. Iztools offers various laser level models suitable for different project ranges.
- Stability: Stability determines how consistently a laser level performs during use. Iztools laser levels are designed to be robust, ensuring stable operation in various environments and reducing measurement errors due to vibration or misplacement.
- Ease of Use: A laser level should be simple to set up and operate. Iztools products are user-friendly, with clear interfaces and easy installation, making them suitable for various users.
Step-by-Step Guide: How to Use a Laser Level to Plumb a Wall
Step 1 – Properly Set Up the Laser Level
First, choose an appropriate location to set up the laser level. Typically, you should place the laser level a certain distance from the wall, ensuring the laser beam covers the entire surface. For stability, mount the laser level on a tripod or stable surface to prevent it from being affected by external vibrations.
Next, align the laser level with the wall, ensuring that the laser beam is projected vertically. Adjust the angle of the level to ensure the laser line is visible and accurate.
Step 2 – Turn on the Laser Level and Calibrate
Once the laser level is turned on, check the brightness and stability of the laser beam. Many high-end laser levels, such as Iztools models, feature automatic calibration to ensure the laser beam remains at the correct angle. If your laser level requires manual calibration, adjust the angle to ensure the laser line is vertical.
Step 3 – Mark the Plumb Line Using the Laser Beam
Once the laser level is set up and calibrated, it will project a vertical laser line. This line will help you verify whether the wall is plumb. Project the laser line onto the top of the wall and check the distance between the laser line and the bottom of the wall, ensuring both are the same. If the wall is not plumb, you can make adjustments based on the laser line reference.
Step 4 – Check and Adjust the Wall’s Alignment
Adjust the wall based on the laser line. As you install wall panels or other components, make sure all structural elements are aligned with the laser line. At this stage, you can easily check whether the wall is plumb by comparing it with the laser line. Adjust the wall position until it matches the laser beam.
Step 5 – Double-Check for Accuracy
After making adjustments, it’s a good idea to check the alignment again using the laser level. Verify the wall’s verticality from different angles and ensure it matches the laser line in all directions.

Common Mistakes to Avoid When Using a Laser Level
- Incorrect Laser Alignment: Before using the laser level, ensure it is properly aligned with the wall and projecting the laser beam correctly. Improper placement of the laser level can lead to inaccurate vertical lines.
- Incorrect Calibration: Failing to calibrate the laser level properly can result in inaccurate measurements. Ensure the laser level is calibrated according to the manufacturer’s instructions.
- Ignoring Wall Curvature or Irregularities: If the wall has curves or irregular surfaces, the laser beam may be affected. Ensure the wall is flat, or use additional measurement tools if necessary.
How to Choose the Right Laser Level for Your Wall Plumb Project
Choosing the right laser level is crucial, especially for projects that require high precision for plumb walls. Here are some tips for selection:
- Laser Line Type: If your project requires high accuracy, consider a cross-line laser level, which projects both horizontal and vertical lines, making alignment easier.
- Range: Choose a laser level based on your project’s size. Iztools offers laser levels with various ranges, from 15 feet to 100 feet, suitable for different types of projects.
- Brand and Quality: Choose a reliable laser level manufacturer like Iztools, which ensures high-quality, precise, and durable products.

How Does a Laser Level Compare to Other Plumb Tools?
Compared to traditional plumb bobs and spirit levels, laser levels provide higher precision and are more convenient to use. A plumb bob requires manual adjustment and may be prone to errors on uneven surfaces, whereas a laser level quickly and accurately projects a straight line, minimizing human error and adapting better to complex construction scenarios.
Frequently Asked Questions (FAQs)
- What is the range of a typical laser level?
Answer: The range of a laser level typically varies from 15 feet to 100 feet, with Iztools models providing longer range options. - Can a laser level be used on any wall surface?
Answer: Yes, laser levels can be used on most wall surfaces, but if the wall is uneven or has large obstructions, additional adjustments may be needed. - How do I calibrate my laser level?
Answer: Calibration methods vary by model, but generally, you can calibrate the laser level by adjusting the angle or using an internal reference, depending on the model. - Can a laser level be used outdoors?
Answer: Yes, but you will need a laser level with enhanced visibility in bright light conditions. Iztools offers models designed for outdoor use. - Why is my laser line not straight?
Answer: This could be due to improper placement, incorrect calibration, or low battery. Ensure the laser level is stable and properly calibrated, and check the battery charge.
Conclusion
A laser level is an essential tool for ensuring verticality in wall construction, offering higher precision, time-saving, and ease of use. Iztools, as a trusted laser level manufacturer, provides high-quality laser levels that help you achieve accurate results. Whether you’re a professional contractor or a DIY enthusiast, using a reliable laser level can make a significant difference in your project’s outcome. Explore Iztools’ range of laser levels and elevate your next construction project to a new level of precision.
